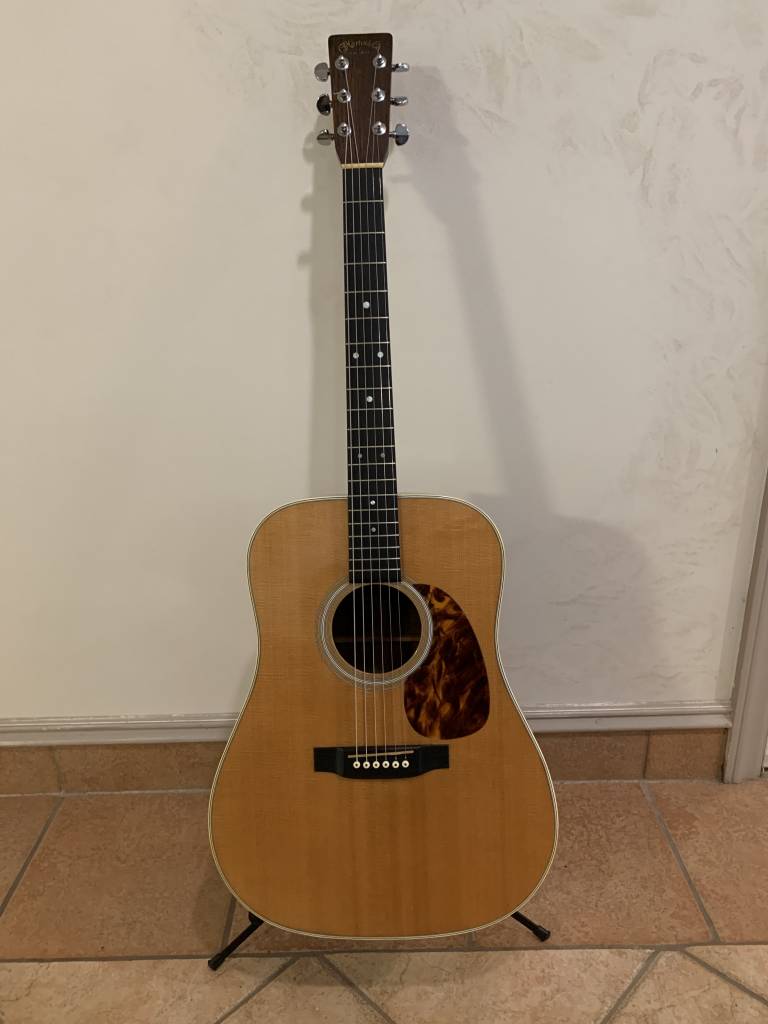
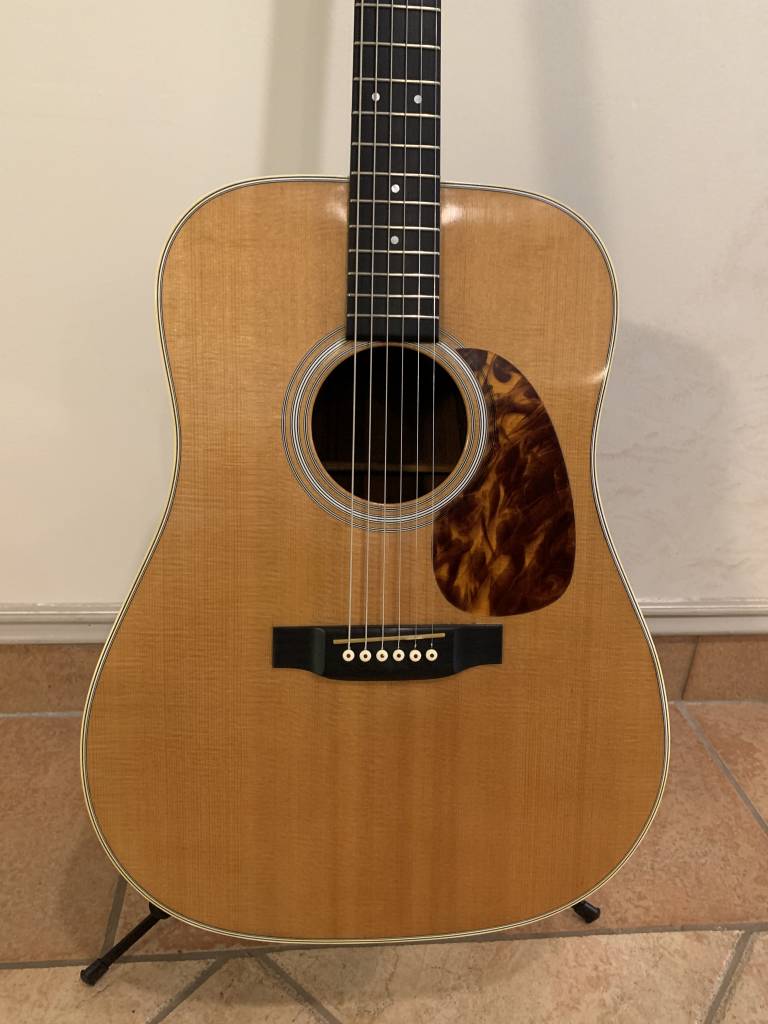
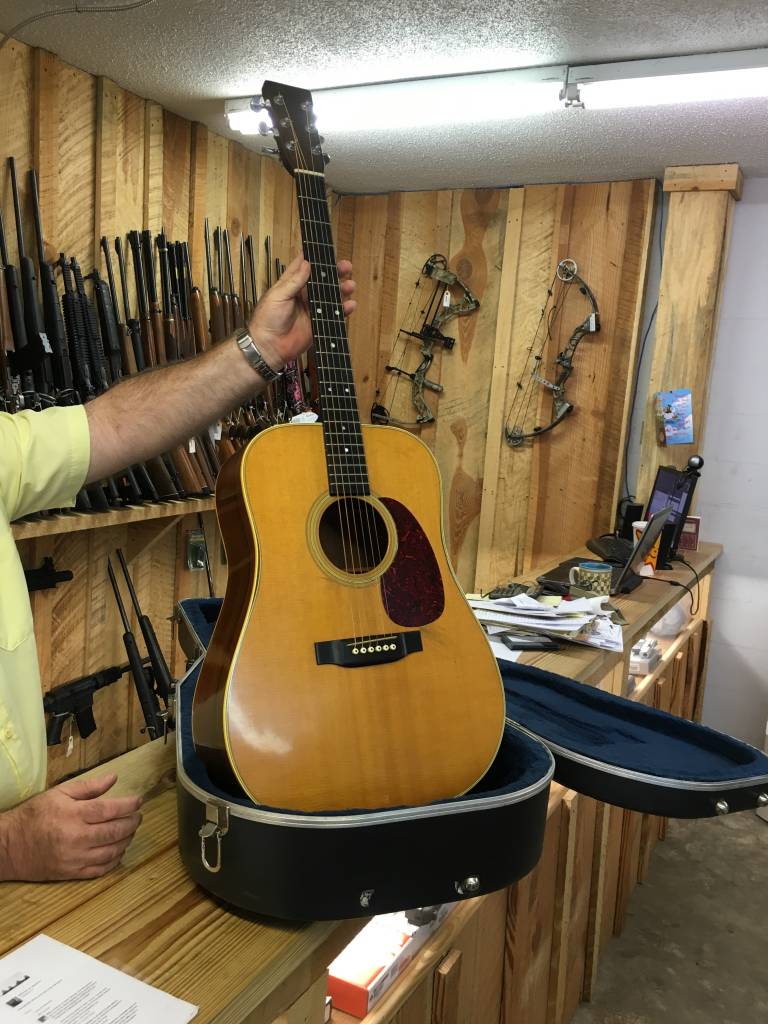
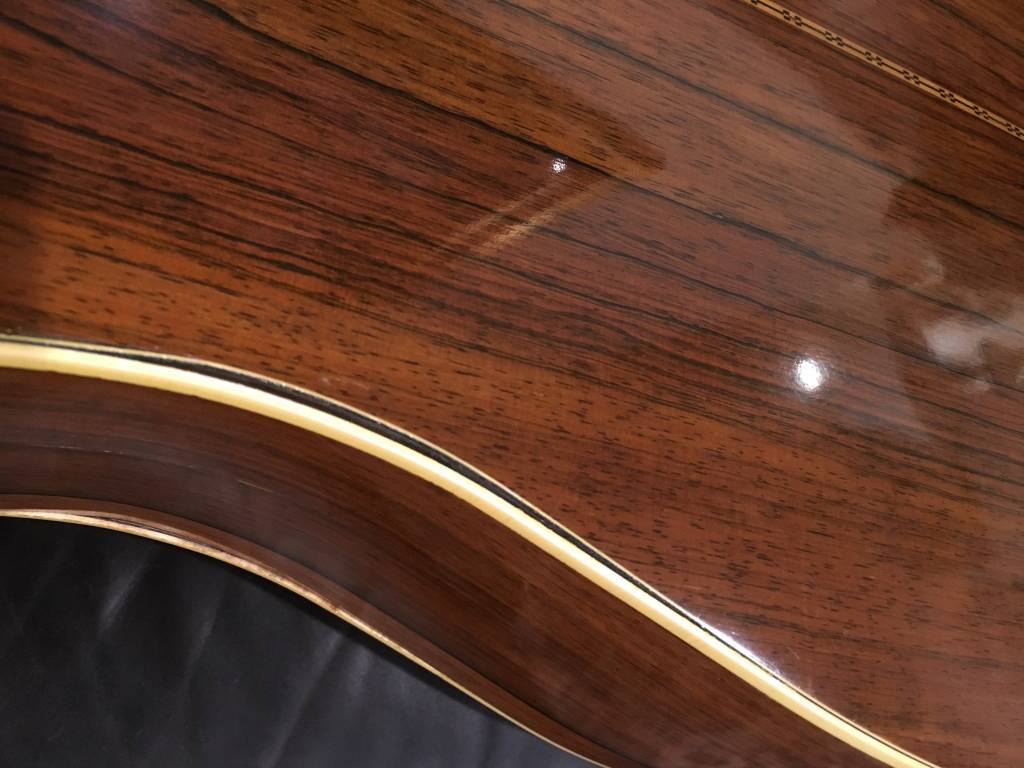
This story started out as a phone call from a pawn shop owner who wanted me to look at an “old Martin” that needed some repair. He had called me the year before about an “old Martin”, and when I got a look at this one, I realized it was the same guitar I had seen the last time. Then, it had been brought in on pawn, but now, the previous owner had defaulted on his payments, so the guitar now belonged to the pawn shop. He wanted me to tell him what it would cost to repair it. At the time I did not know how old it was, and was simply looking at the damage and whether I could fix it. Both front bindings and one of the rear bindings were detached from the body. The nut was not evenly spaced and was not original. The headstock had broken off the neck and been re-glued. There was an 8″ crack in the lower side of the body. The pickguard had been replaced with a non-standard cheap copy. The top had been refinished and had black stains above and below the pickguard. The entire body had been over-sprayed with lacquer which had never been buffed out. Three of the six tuners were cracked and could not be properly secured to the headstock. Here are the pictures I took of the guitar shortly after purchase to illustrate what repairs were needed. I will follow each group of pictures with details on how the repairs were done.
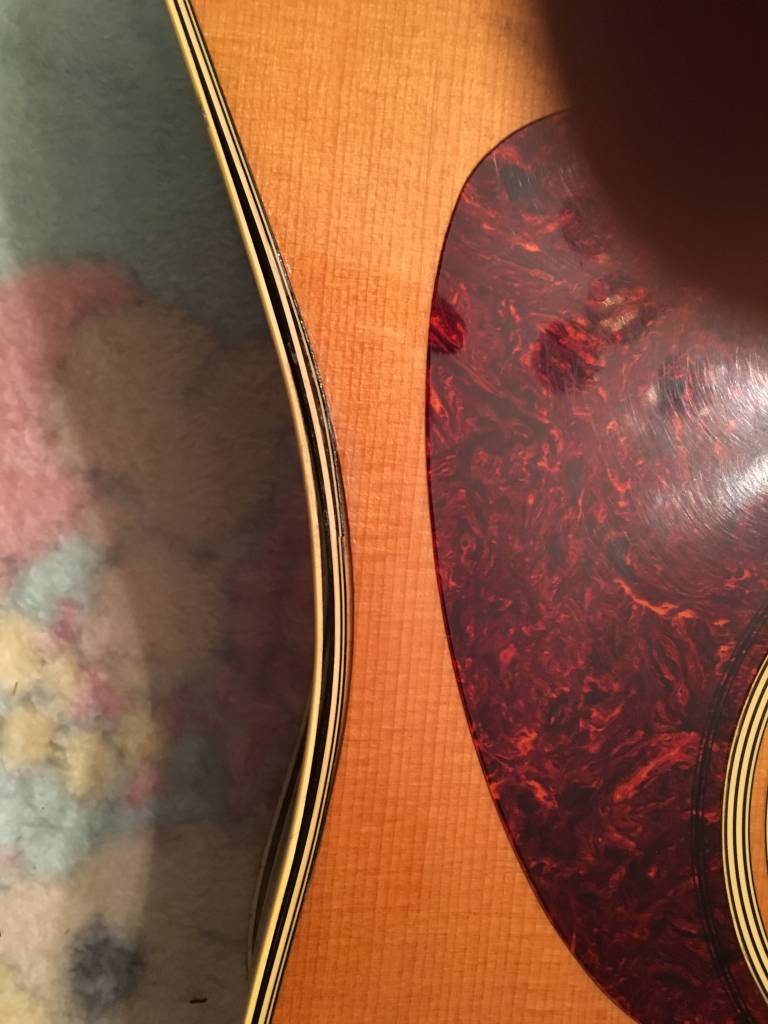
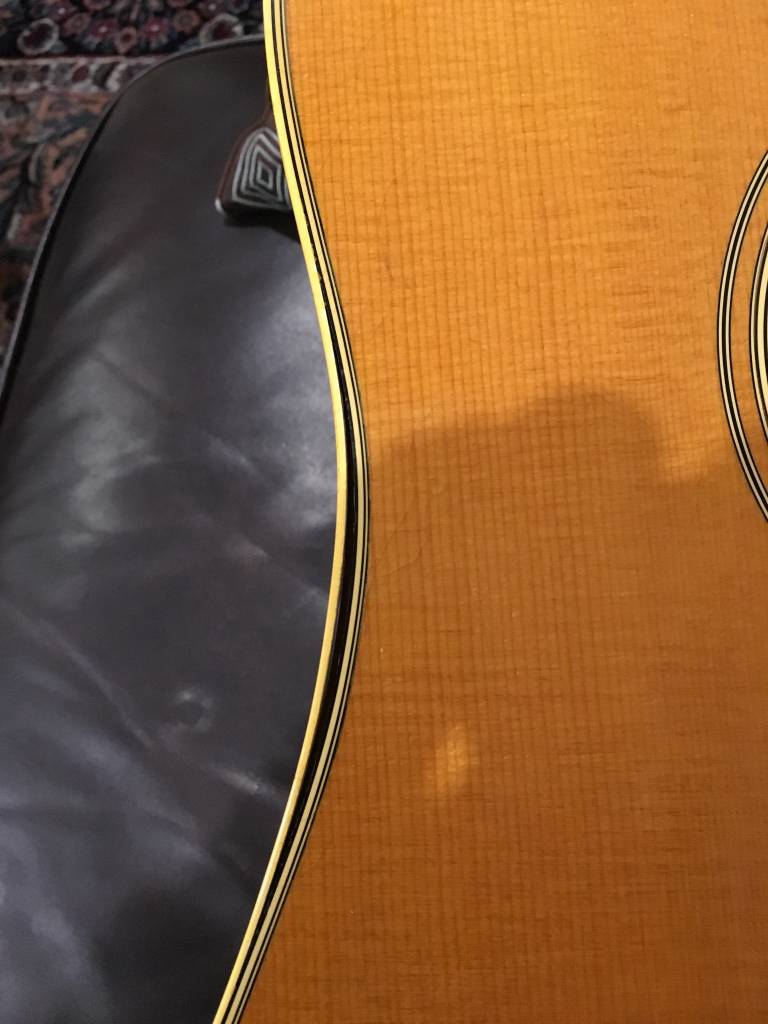
The first thing to know about loose bindings is they are usually the result of shrinkage in the plastic, which happens at a different rate than the wooden body. If one simply tries to apply glue and clamp them back, you will either stretch the binding to the point of breakage, or force it back into place under tension, which guarantees that the problem will reappear when the plastic re-assumes its previous length. To properly repair this, extra length must be added to the bindings to make up for the shrinkage. There are several ways to accomplish this, not all of which leave a good result. One way is to cut the bindings in the middle of the loose section and then glue them back. This will leave a gap in the binding which will need to be filled with an exact match of the existing binding, or if material is not available, epoxy can be used and carefully colored to match. A better way to do this type of repair is to carefully loosen the bindings all the way to where they disappear under the fretboard, and then cut them off right at that point. In order to do this without too much damage to the finish, the joint where the plastic meets the wood, both on the top or back, and the side must be carefully cut with an Exacto type knife. On older vintage guitars, the finish will be too brittle to cut cleanly, but try anyway, because that will minimize the amount of touchup work needed after they are glued back. The bindings are then reglued into place, leaving a small gap at the fretboard end which must be filled in as before mentioned. I will discuss the details of this gluing up process shortly.
An even better way to do this repair is to loosen the extra binding that is under the fretboard and use it to make up the extra length that is needed. If you simply try to pull it out from under the fretboard, you have about a 30% chance of success. All of the repairmen I knew did just that with limited success, usually breaking the binding and having to do a patch anyway. On most older guitars, Duco Cement, or airplane glue, is what was used to fasten the bindings to the wood. The solvent in this type of glue is lacquer thinner. I used a piece of clear vinyl tubing about 10″ long with a hypodermic needle screwed into the end to control the placement of the lacquer thinner. If you can find a glass syringe, that would be easier. With the bindings loosened all the way to the fretboard, a few drops of lacquer thinner inserted directly behind it will loosen it rather quickly, and it will slip out easily. Be careful not to let the lacquer thinner touch any of the finished areas of the guitar as it will damage most vintage finishes. Now you have about an extra inch or so of original perfectly matched material to allow the bindings to go back into place without any stress or stretching at all. Since I lacked this convenient supply of extra binding on the back, I had to do a patch to fill in, which I placed right behind the neck heel.
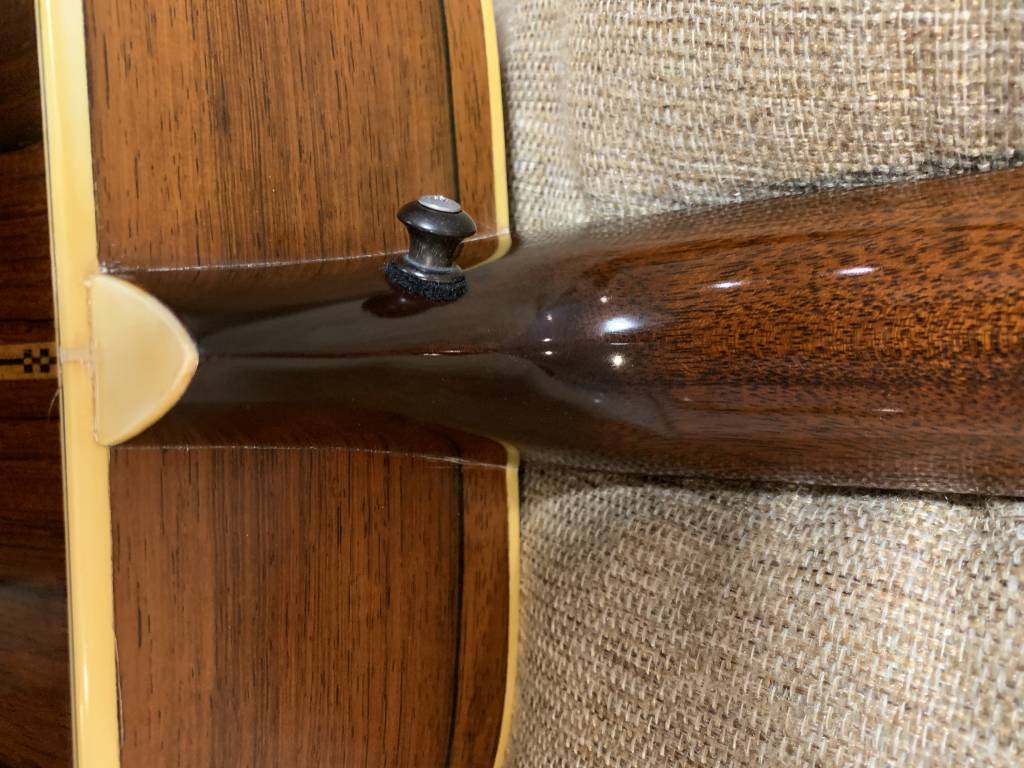
Now for the actual re-gluing of the bindings, there are a few tricks to know. When you have cut the finish lines, and loosened the binding from the body of the guitar, the back of the binding will be covered with a thin film of wood fibers because the Duco cement actually melts the surface of the binding into the wood. Do not clean this off of the bindings and do not scrape the surface of the wood on the body of the guitar. You can use any wood glue now to reglue the bindings and it will adhere very well to those wood fibers that have melted into the back of the binding. Guitar manufacturers used to wind elastic bands around the body of the guitar to hold the bindings into place until the glue dried. For repair work, binding tape is easier to use. Any luthier supply house (LMI,Philadelphia Luthier, Stew-Mac) will have this in stock. It is similar to masking tape, but is stiffer with stronger adhesion. Since this guitar was a 1961 vintage, I used painter’s masking tape to provide a surface for the tape so as not to damage the finish. Also, to pull the bindings snug to the body on the inward curve below the pickguard, I cut a wood block to the shape of the body and clamped it in place after the tape was applied.
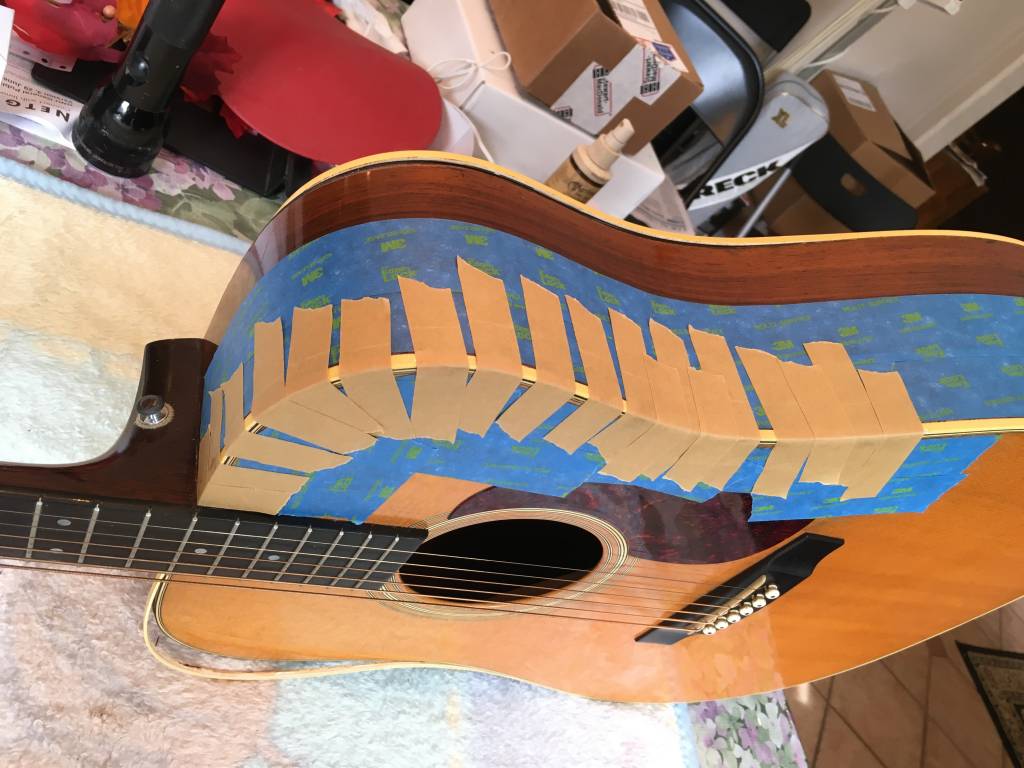
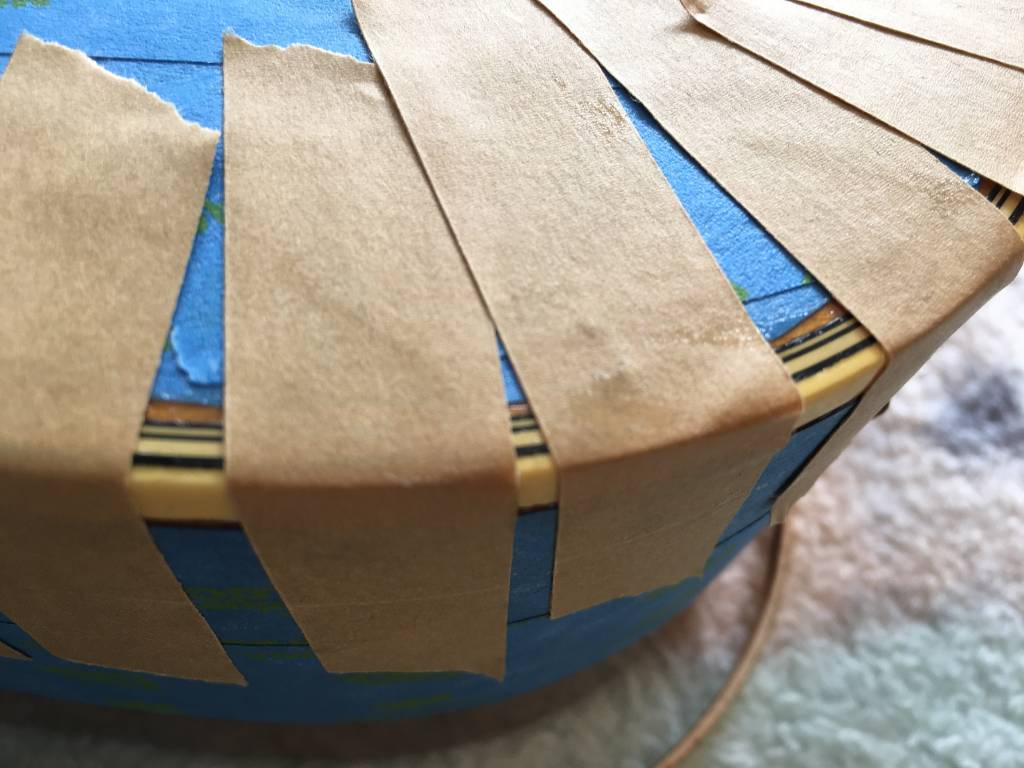
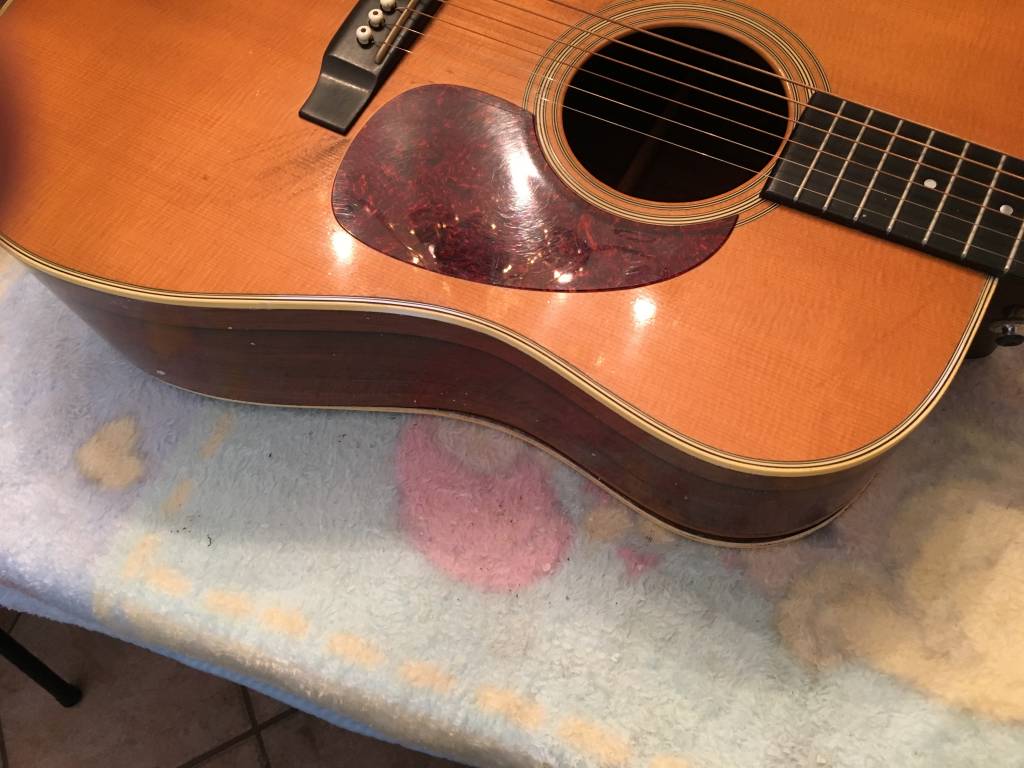
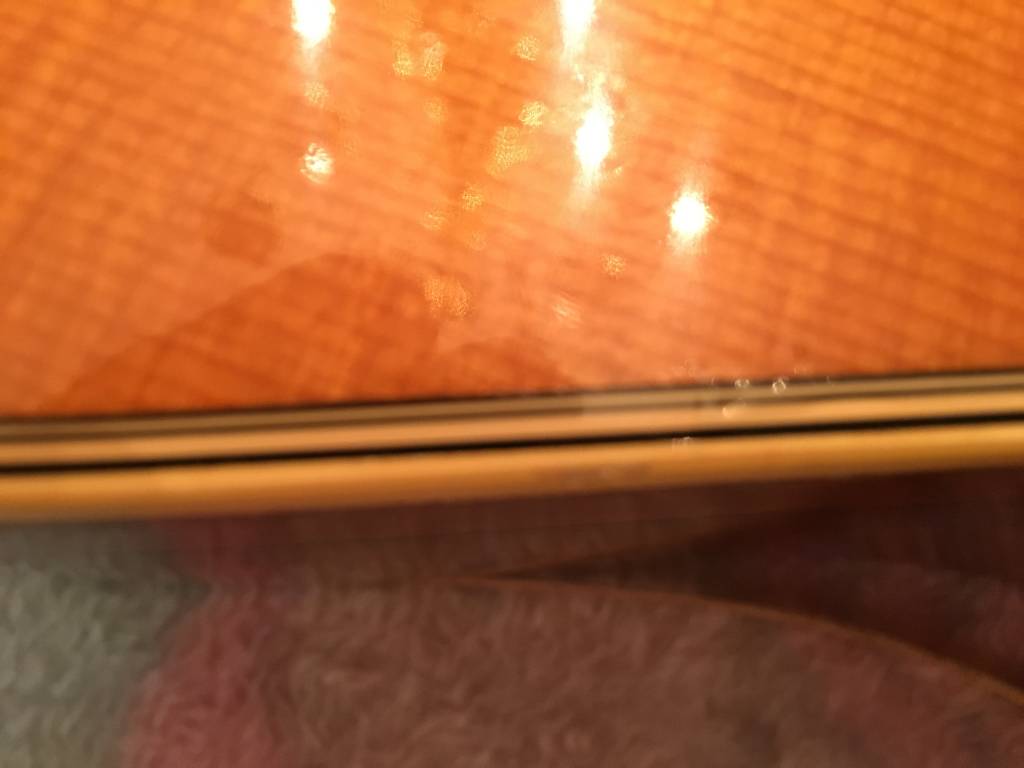
All excess glue must be carefully removed from the top, back, and sides. After I did that, I began touching up the lacquer on the sides and the back where I had cut it to remove the binding. Usually, on a guitar of this vintage, I would not refinish any original surface, but a close examination of the top showed me that the top finish was not original, and since there were blemishes under the lacquer, and I would have to touch up the entire perimeter, I decided to refinish the top instead, which would save a lot of time, and result in a much nicer look for this guitar. This would also give me a chance to replace the cheap pickguard with something more appropriate for this guitar. Also, the new lacquer would seal the joint with the binding around the entire perimeter. Again, if the top finish was original, I would not have done this.
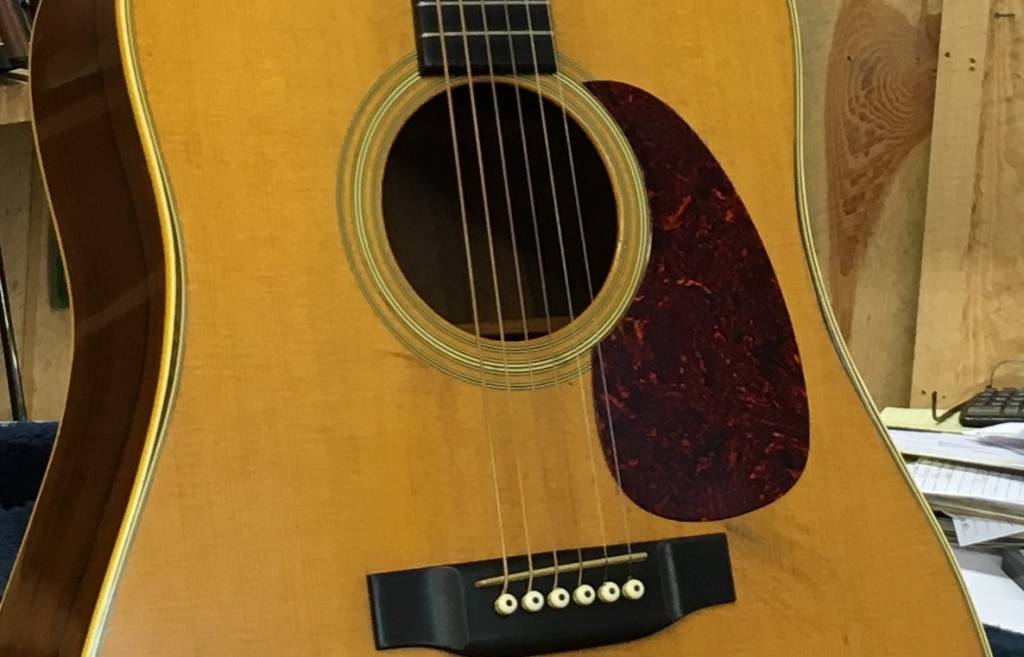
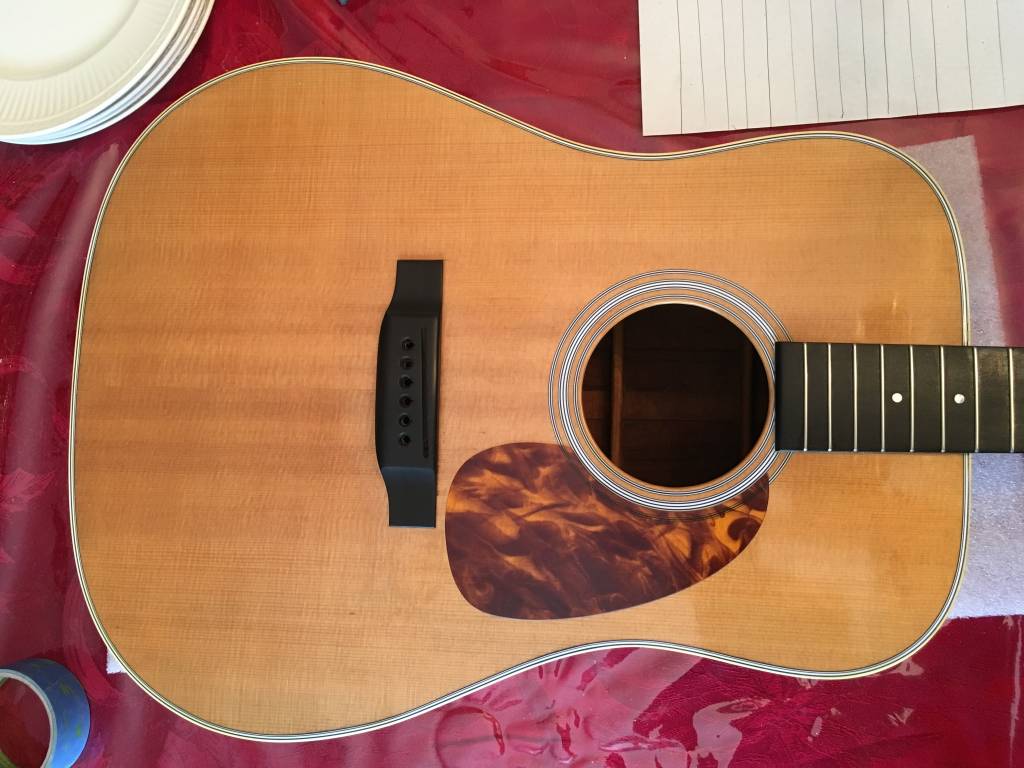
To be able to get a uniform finish with the lacquer on the top, I removed the bridge by heating it with a specialty heating iron made for this purpose to loosen the glue. It came of cleanly. I cleaned the old glue off of the bridge and the top. I removed the pickguard by heating it with a hair dryer to soften the peel and stick adhesive and peeled it off the top. I stripped the top with lacquer thinner only, and did not sand the top, so as to preserve the aged appearance of the wood. I had to be careful at the edges to not let the thinner flow into the binding joints. I had to use a very fine pointed blade to pick out the black scuff marks, which preserved the patina of the surrounding wood in those areas as well, since, again, no sanding. Immediately before spraying the lacquer, I placed a piece of 2″ wide masking tape over the bridge area, and positioned the bridge in the exact same location that it had originally been. I then carefully traced around the bridge with a very sharp knife to cut away the excess masking tape, leaving the exact pattern of the bridge in tape on the top to provide a clean gluing surface for the bridge after spraying and buffing was complete. Extreme care must be used here not to cut the spruce top under the tape, because that would destroy the structure of the bridge glue-up. There are other methods of doing this which I will discuss in a later blog post. I began by spraying two coats of thinned out lacquer as a sanding sealer to raise the grain of the spruce. This was sanded with 220 grit dry no-fill sanding paper just until the raised grain felt smooth. This was followed by four coats at full strength, which I allowed to dry for one day, and then sanded flat with 320 grit no-fill dry sandpaper. Sometimes I will do more than four coats if the surfaces are not even enough to sand out level without sanding through. The goal is a completely uniform matte surface with no gloss showing anywhere. After this, I sprayed four more full strength coats and left it to dry for about 10 days. I have had great success with a 3M brand foam backed sanding sheet that is sold at automotive paint stores. The sheets are about 3/16″ thick and measure about 4.5″ square. They are available in four grades ranging from approximately 220 grit to 850 grit. They can be used wet or dry. I avoid wet sanding on guitars because there are too many openings where water can enter and destroy a new finish. With this sandpaper, I can achieve a gloss finish using it dry. The final pass was made with another 3M product called Trizact, which was developed to give a high gloss finish to Corian used dry. I used the 5000 grit version. I do all my sanding by hand, because it gives me much better control of the outcome. After the 5000 grit pass, the surface had a highly reflective gloss. I then used a felt wrapped foam block with 3M automotive rubbing compound for the final gloss.
At this point, I carefully cut the lacquer around the masking tape, again without cutting into the spruce, and removed the tape. Using several long reach clamps, I clamped and glued the bridge back in place using the perfect outline formed by the tape. I purchased a custom poured resin pickguard and applied it using the 3M double stick sheet provided with it, following the still visible outline of the original pickguard.
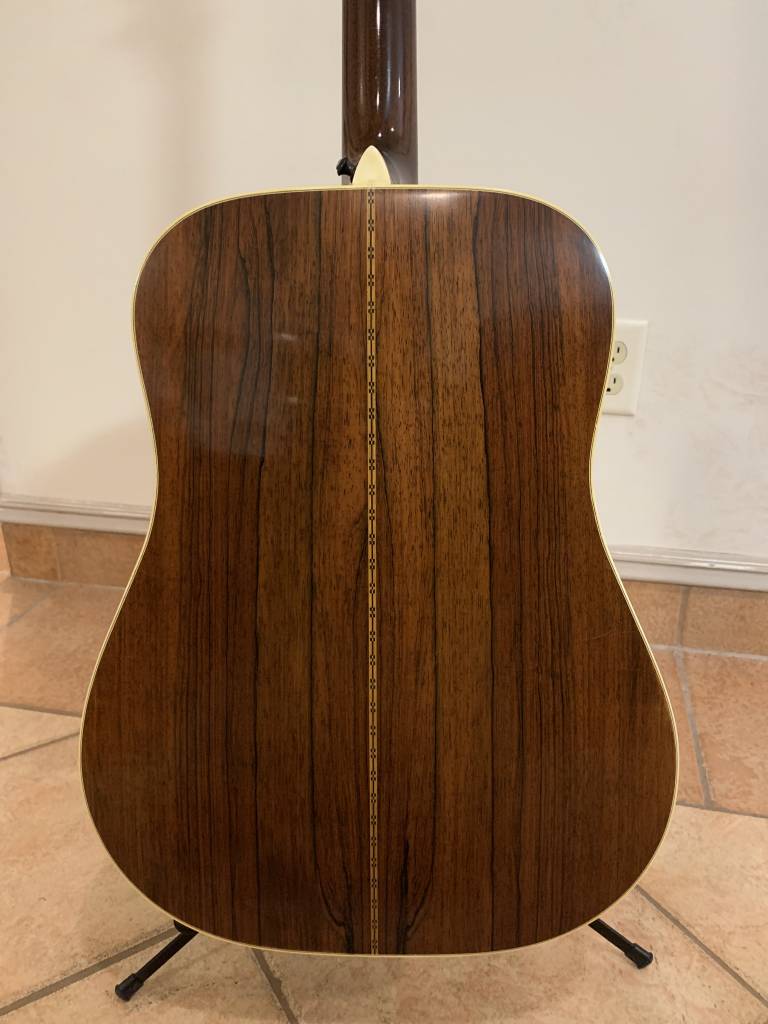
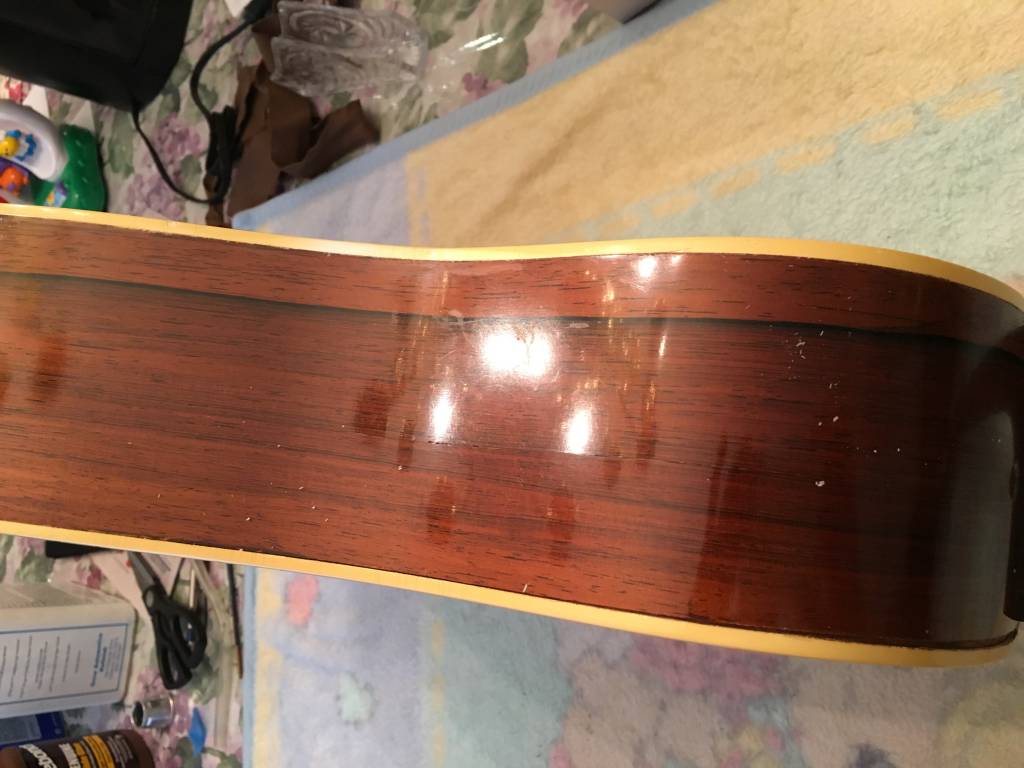
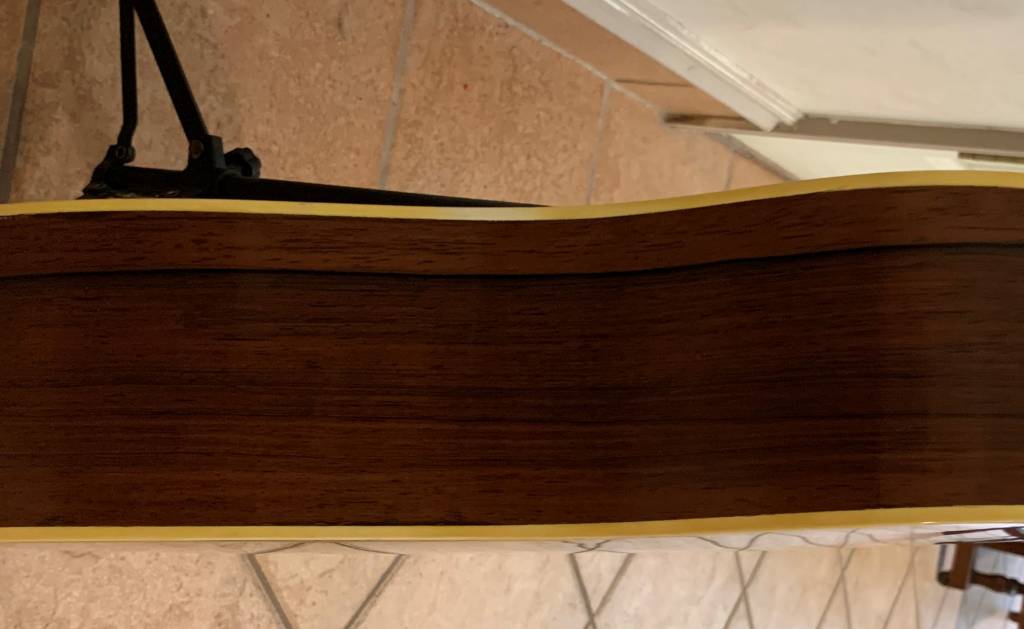
This guitar also had a nine inch long crack in the Brazilian rosewood side where the guitar would rest on your knee while playing. I have several suction cups from kitchen gadgets that stick to the sink that I use for this kind of repair. I drilled a hole through the suction cup handle and pushed a vinyl hose through with a tight fit. I fitted the hose to a blow gun which I attached to a small compressor set to 10 psi output. I applied a bead of wood glue directly over the entire length of the crack, and then placed the suction cup over the glue. I pulsed the 10 psi air with the blow gun trigger until I could see the glue on the inside of the guitar. I kept moving the suction cup along the entire length of the crack to get glue through the whole length of it. I then applied several felt faced wooden clamps to the crack and let it set for several hours. While the glue was setting, I made three maple cleats to reinforce the side. They were about 3/4″ wide by 2 1/2″ long by 1/8″ thick with one face beveled 4 directions like the hip roof on a house so as not to create a dead spot on the cleat. I clamped them in place using some very strong permanent magnets. Afterwards, I touched up the lacquer over the crack with an artist’s brush and sanded and buffed it out.
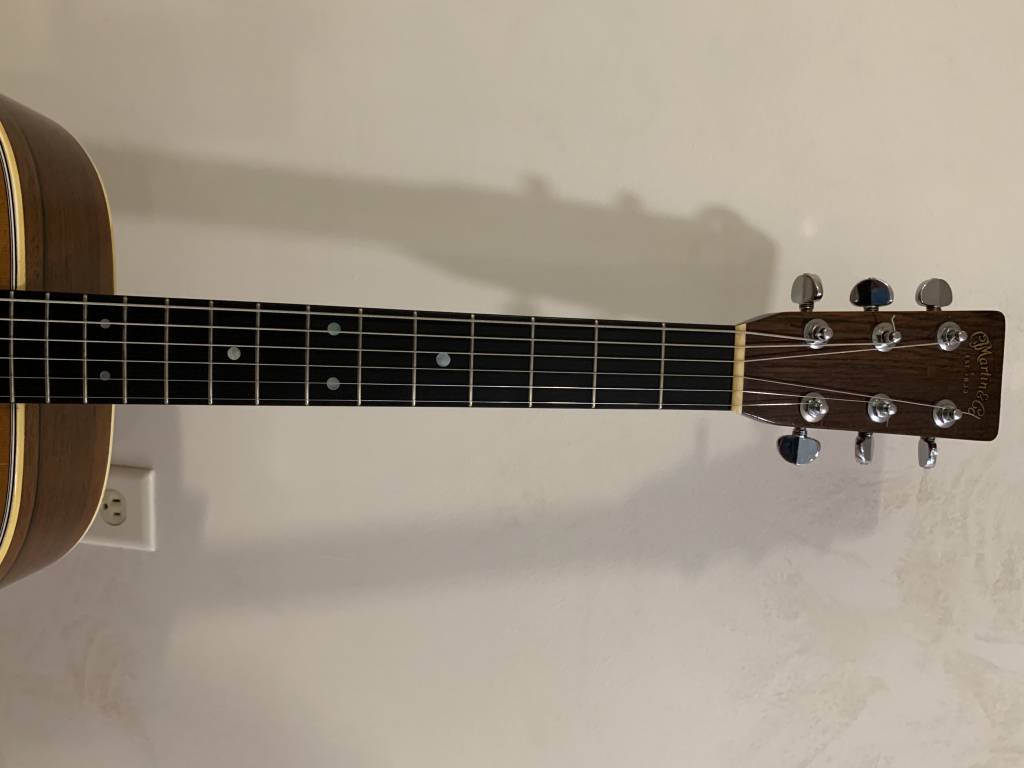
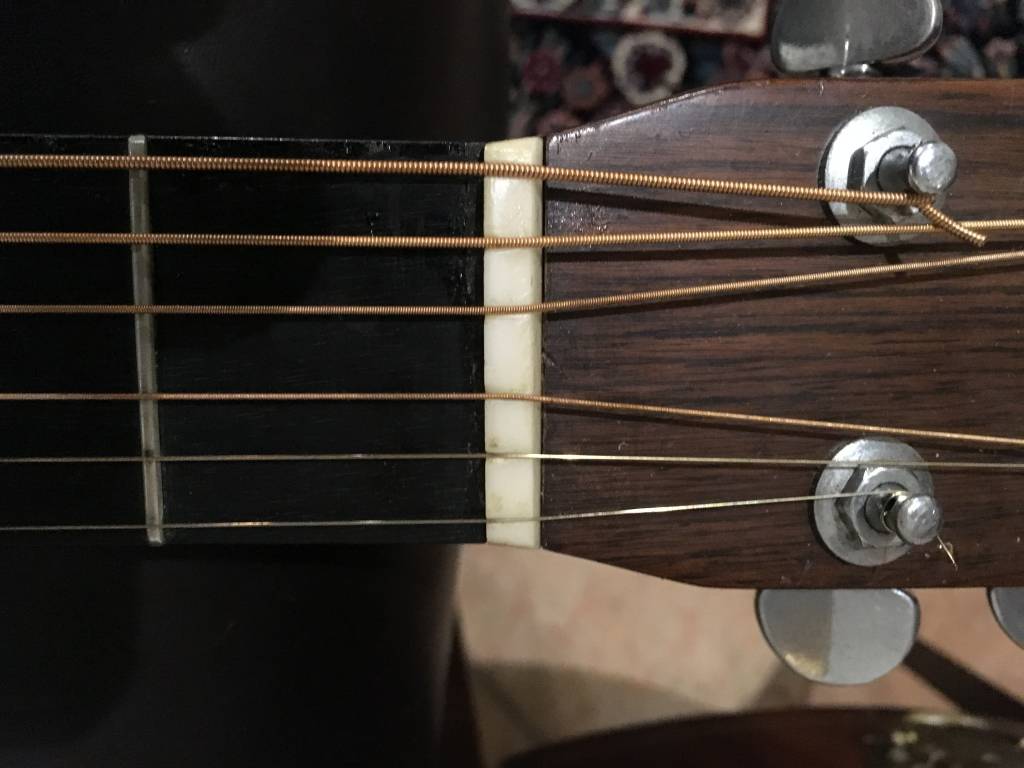
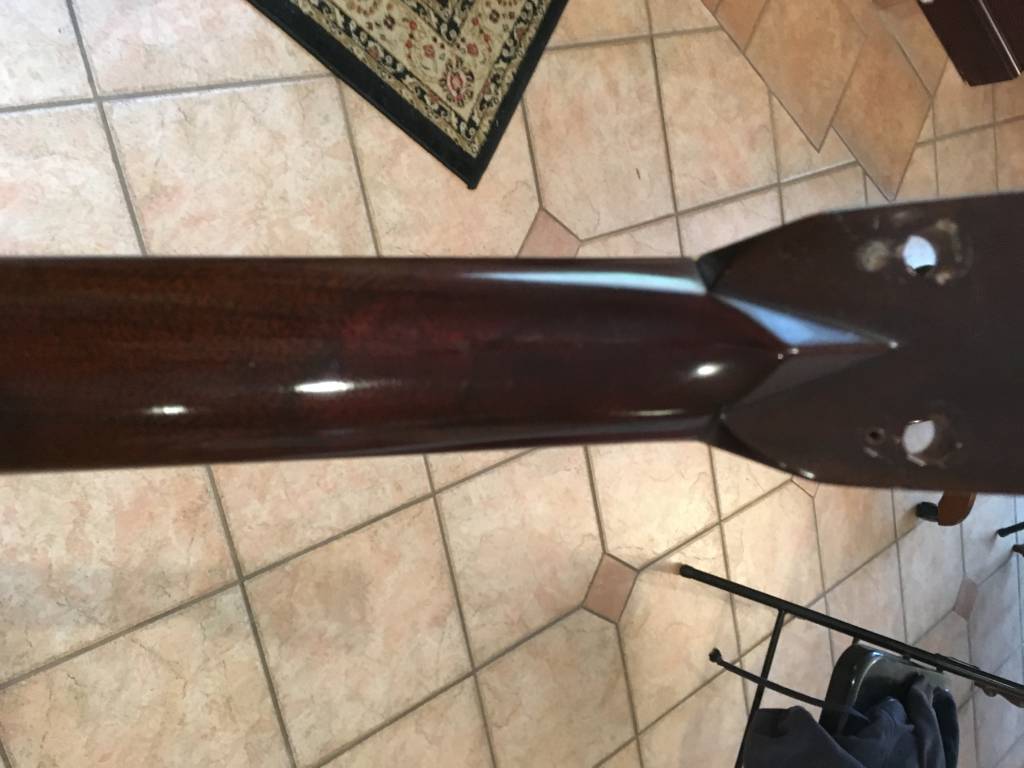
The other three issues on this guitar were on the neck and headstock.The headstock had broken off the neck and been reglued correctly, but the finish was never touched up. The nut was very unevenly slotted and obviously not original. Three of the original Grover tuners had cracked where they thread together, and thus could not be securely fastened to the headstock.
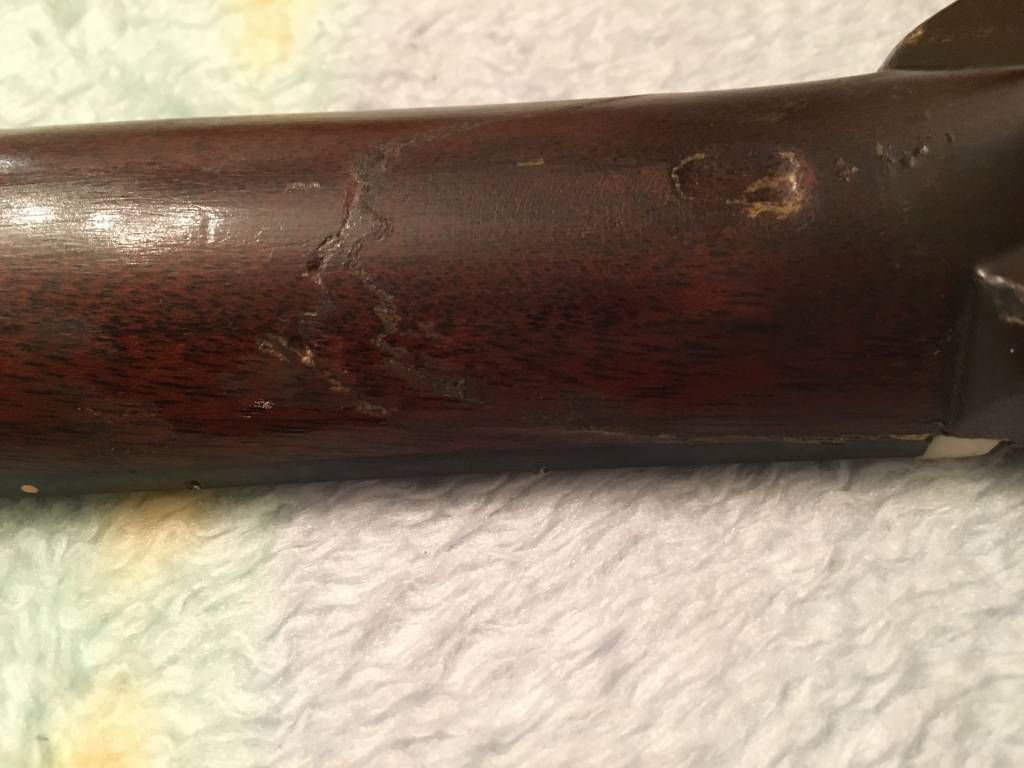
I decided to remove the finish on the back of the neck where the glue-up had been done. This allowed me to stain it to match, and it also allowed me to steam out the clamp dent. As you can see, this break went with, rather than across the grain, which made the glue-up easier and much stronger. The crack was not visible from the front of the headstock, and I was able to steam out the dent in the ebony fingerboard. I lightly sanded the area, removed all visible glue, and then stained it to match the rest of the neck. I then built up lacquer over the area to seal it and fill the grain, finishing with a high gloss buff.
I removed the nut and cleaned out the slot in the wood. I ordered a pre-slotted unbleached bone nut from Stew-Mac to replace it, and after some fitting and sizing it was a perfect fit.
I had to search Ebay for quite a while to find an exact match for the Grover tuners, because they changed certain things almost every year. I waited until an exact match showed up and bought the whole set. Now all six tuners are secure to the headstock, and stay in tune as they should.
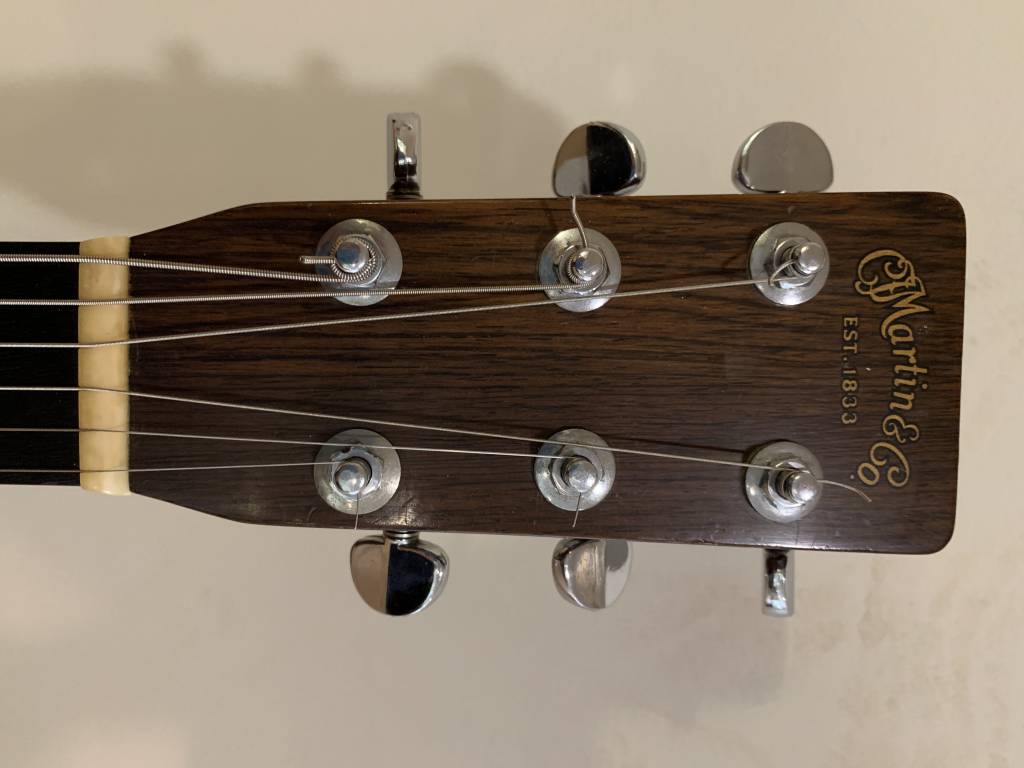
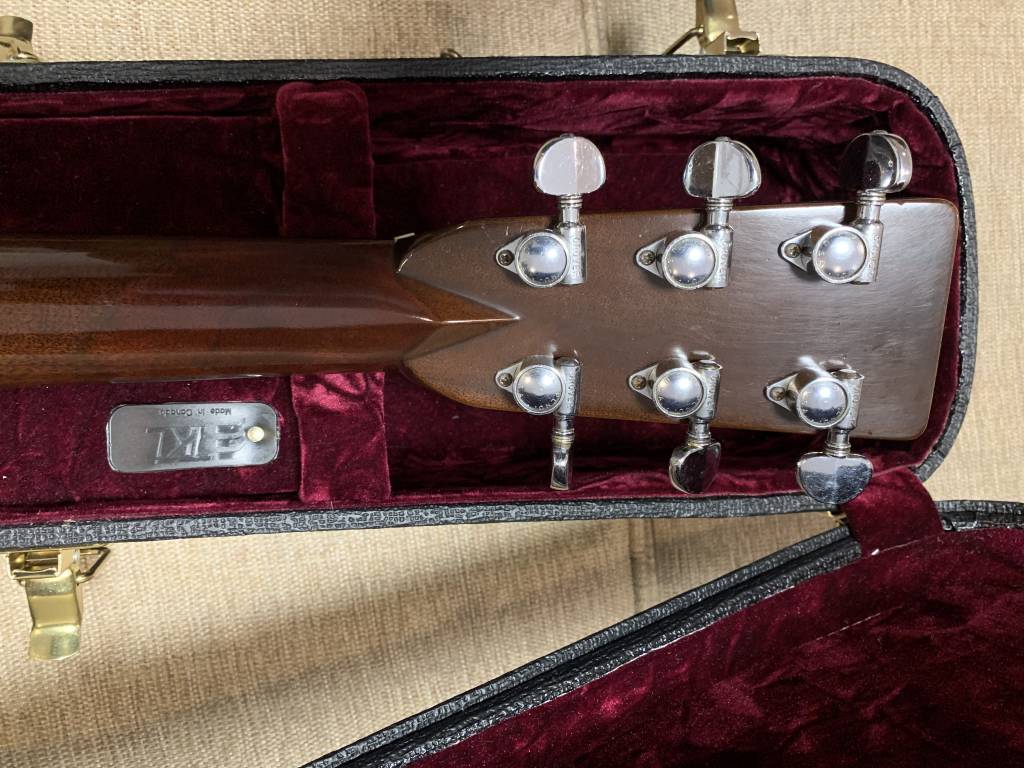
This guitar is my rosewood go-to and a permanent part of my collection. I say this because I turned down a $6,250 offer for it at a time when I really needed the money. It’s a great conversation piece as well. Here are a few more finished pictures.
